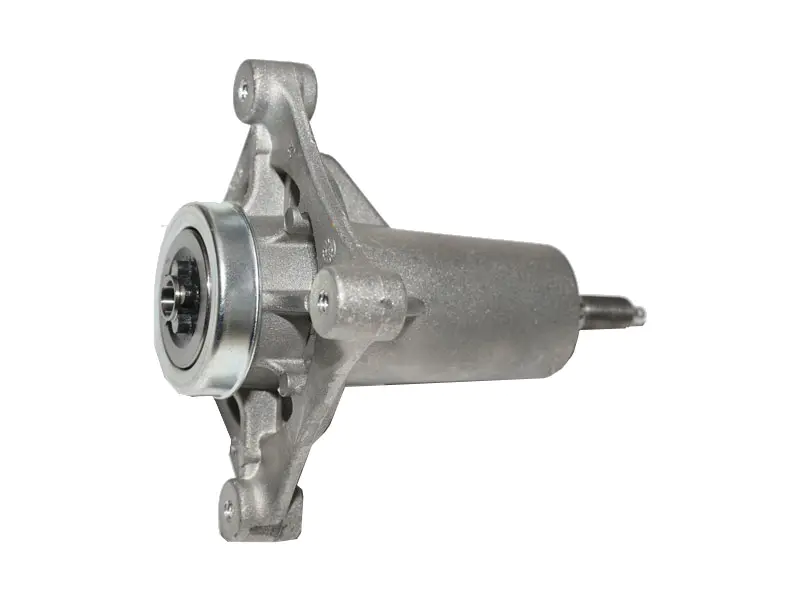
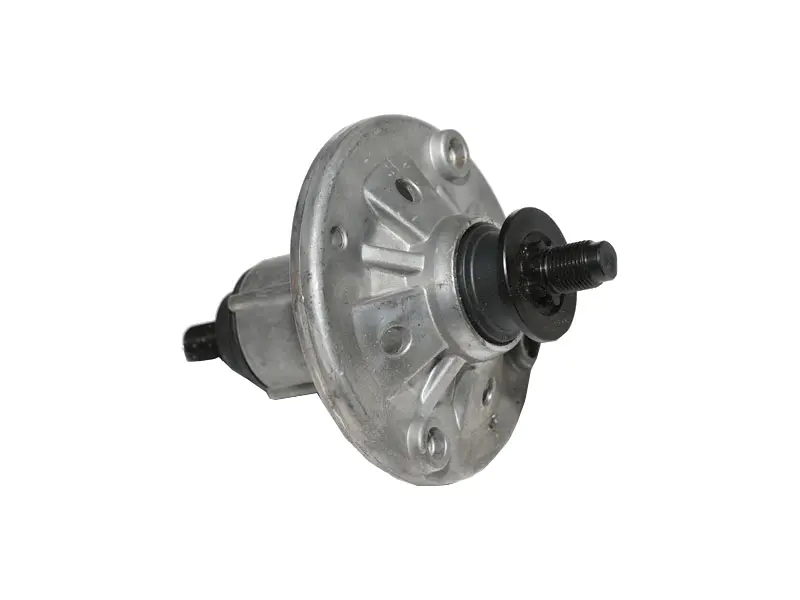
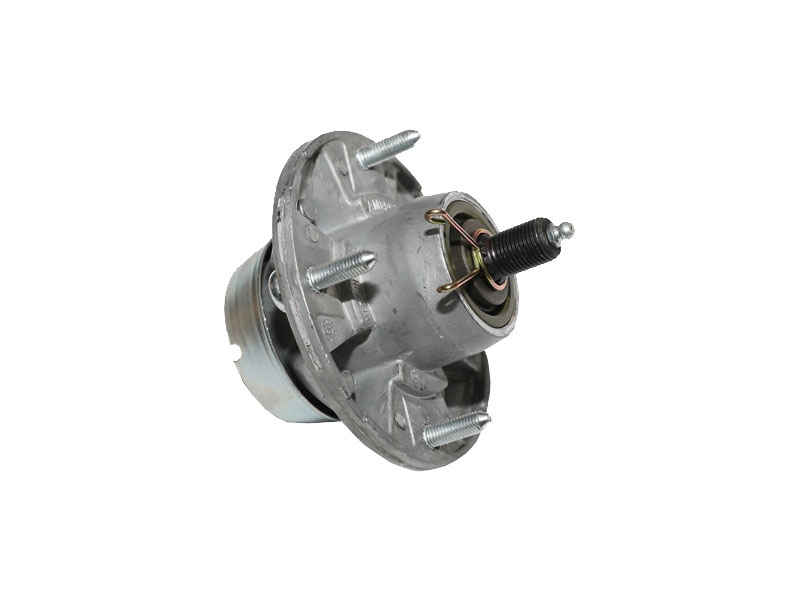
As another lawn mowing season comes to a close, it may be Lawn mower steering parts tempting to roll your lawn mower into the far corner of your garage and forget about it until spring.But winterizing your lawn mower is a critical part of ensuring that it continues to run properly for years to come. Neglecting to prepare your lawn mower for winter storage will have you shopping for a new one in no time.Below, we’ll explain how to winterize your lawn mower for the cold weather ahead and offer suggestions if you’re new to lawn mower winterization. Proper maintenance now will ensure that your lawn mower is up and running in the springtime.You may be wiping down and cleaning off the top surfaces of your lawn mower, but one of the most commonly overlooked tasks of winterizing a lawn mower is cleaning the underside, otherwise known as the deck.
Over the course of a mowing season, layers of grass clippings build up on the underside of your lawn mower. Because they hold moisture, these grass clippings can cause rust and will ultimately impact the performance of your mower. Cleaning the deck should be done at least twice a year.To clean the deck, turn your mower over and scrape off the grass clippings with a putty knife and wire brush, then wipe off any remaining grass residue with a dry towel. Debris and blades of grass should be removed from the mower deck, the lawn mower blade, and other components. For maximum results, use WD-40 to coat the underside of your deck.Evaluate and remove the spark plugs. Plugs that are corroded or cracked must be replaced with a new plug. Keep in mind that spark plugs are generally only designed to be used for 100 hours of mowing (and you can trust that they’re much cheaper to replace than the entire mower).
You can identify a bad spark plug by looking at it. Use a socket wrench to unscrew the plug so you can inspect the electrode and insulator, then look closely: the center of the electrode should have a flat top. If it appears rounded, cracked or blackened from carbon or degraded excess fuel, it’s time to replace it.Changing the oil prepares your lawn mower for winter storage and can ensure that your mower will start properly next spring. Be sure to warm the engine before changing the oil, then move your mower onto a drop cloth in a well-ventilated area. Disconnect the battery and remove the spark plug, then check its oil level with a dipstick. At the end of a mowing season, the oil will likely be black.To drain the oil, use a valve, hose and pan, then check the oil level again to ensure the tank is empty. Add fresh oil to your mower according to the manufacturer’s instructions. Next, use an oil filter wrench to remove and replace the old oil filter.
Although it may seem like a good idea to drain the fuel tank, doing so could harm your engine. It will be harder for your lawn mower to start next spring if you run it dry before storing it for winter. Note: this concept is universal for all of your outdoor equipment and tools, from mowers and blowers to trimmers and chainsaws.You can easily damage critical parts of your lawn mower by draining the tank, including the carburetor. Because your lawn mower’s carburetor blends air and fuel and circulates these elements into an engine’s cylinders, it’s one of the most important elements of a functioning lawn mower. Each time you drain the gas tank, oxygen enters the lawn mower’s carburetor. Because it’s impossible to drain every last drop of gasoline, oxygen attacks the small fuel droplets left behind, causing it to gum and varnish. When this debris settles in the wrong place (a needle valve tip, for example), the carburetor will need cleaning to work properly again. Anytime there’s oxygen, there’s also water, which causes damage. In fact, moisture is the most common cause of damage to your mower over the winter season.
- E-mail us: [email protected]
- Fax: +86-0571-86156896
Our Contacts
-
 Address:Gaodi Industrial Park, No.599 Donghu South Road, Nanyuan Street, Yuhang District, Hangzhou, Zhejiang, China
 -
 Phone Numbers:+86-0571-86208501
+86-0571-86156133 -

Web Menu
Product Search
Exit Menu
How To Winterize Your Lawn Mower
Related Products

Hangzhou Shengda Bearing Co., Ltd. is a Sino-US cooperative enterprise engaged in machinery manufacturing and processing.
Contact
 Add: Gaodi Industrial Park, No.599 Donghu South Road, Nanyuan Street, Yuhang District, Hangzhou, Zhejiang, China
 E-mail: [email protected] / [email protected]
 Tel: +86-0571-86208501 / +86-0571-86156133
 Fax: +86-0571-86156896
Mobile Site
Copyright 2024 © Hangzhou Shengda Bearing Co., Ltd. All Rights Reserved.
Lawn Mower, Auto Motorcycle Chassis Fittings Punching Presses Products Suppliers

 English
 中文简体
中文简体 Español
 svenska
